San Clemente
Choosing the right education for your child is one of the most important decisions you will ever make.
As parents, carers or grandparents you have a choice – and the right – to offer your child the best education available.
The Diocese of Maitland-Newcastle proudly hosts some of the best schools in Newcastle, Maitland, the Hunter and Upper Hunter, Lake Macquarie and Manning regions.
Catholic schools offer a unique educational experience which forms the child or young person as a person of integrity, compassion, faith and wisdom. Catholic schools also work closely with their local parish to enhance in students a capacity to make sense of their world, to make judgements and to recognise the uniqueness of others within a faith community.
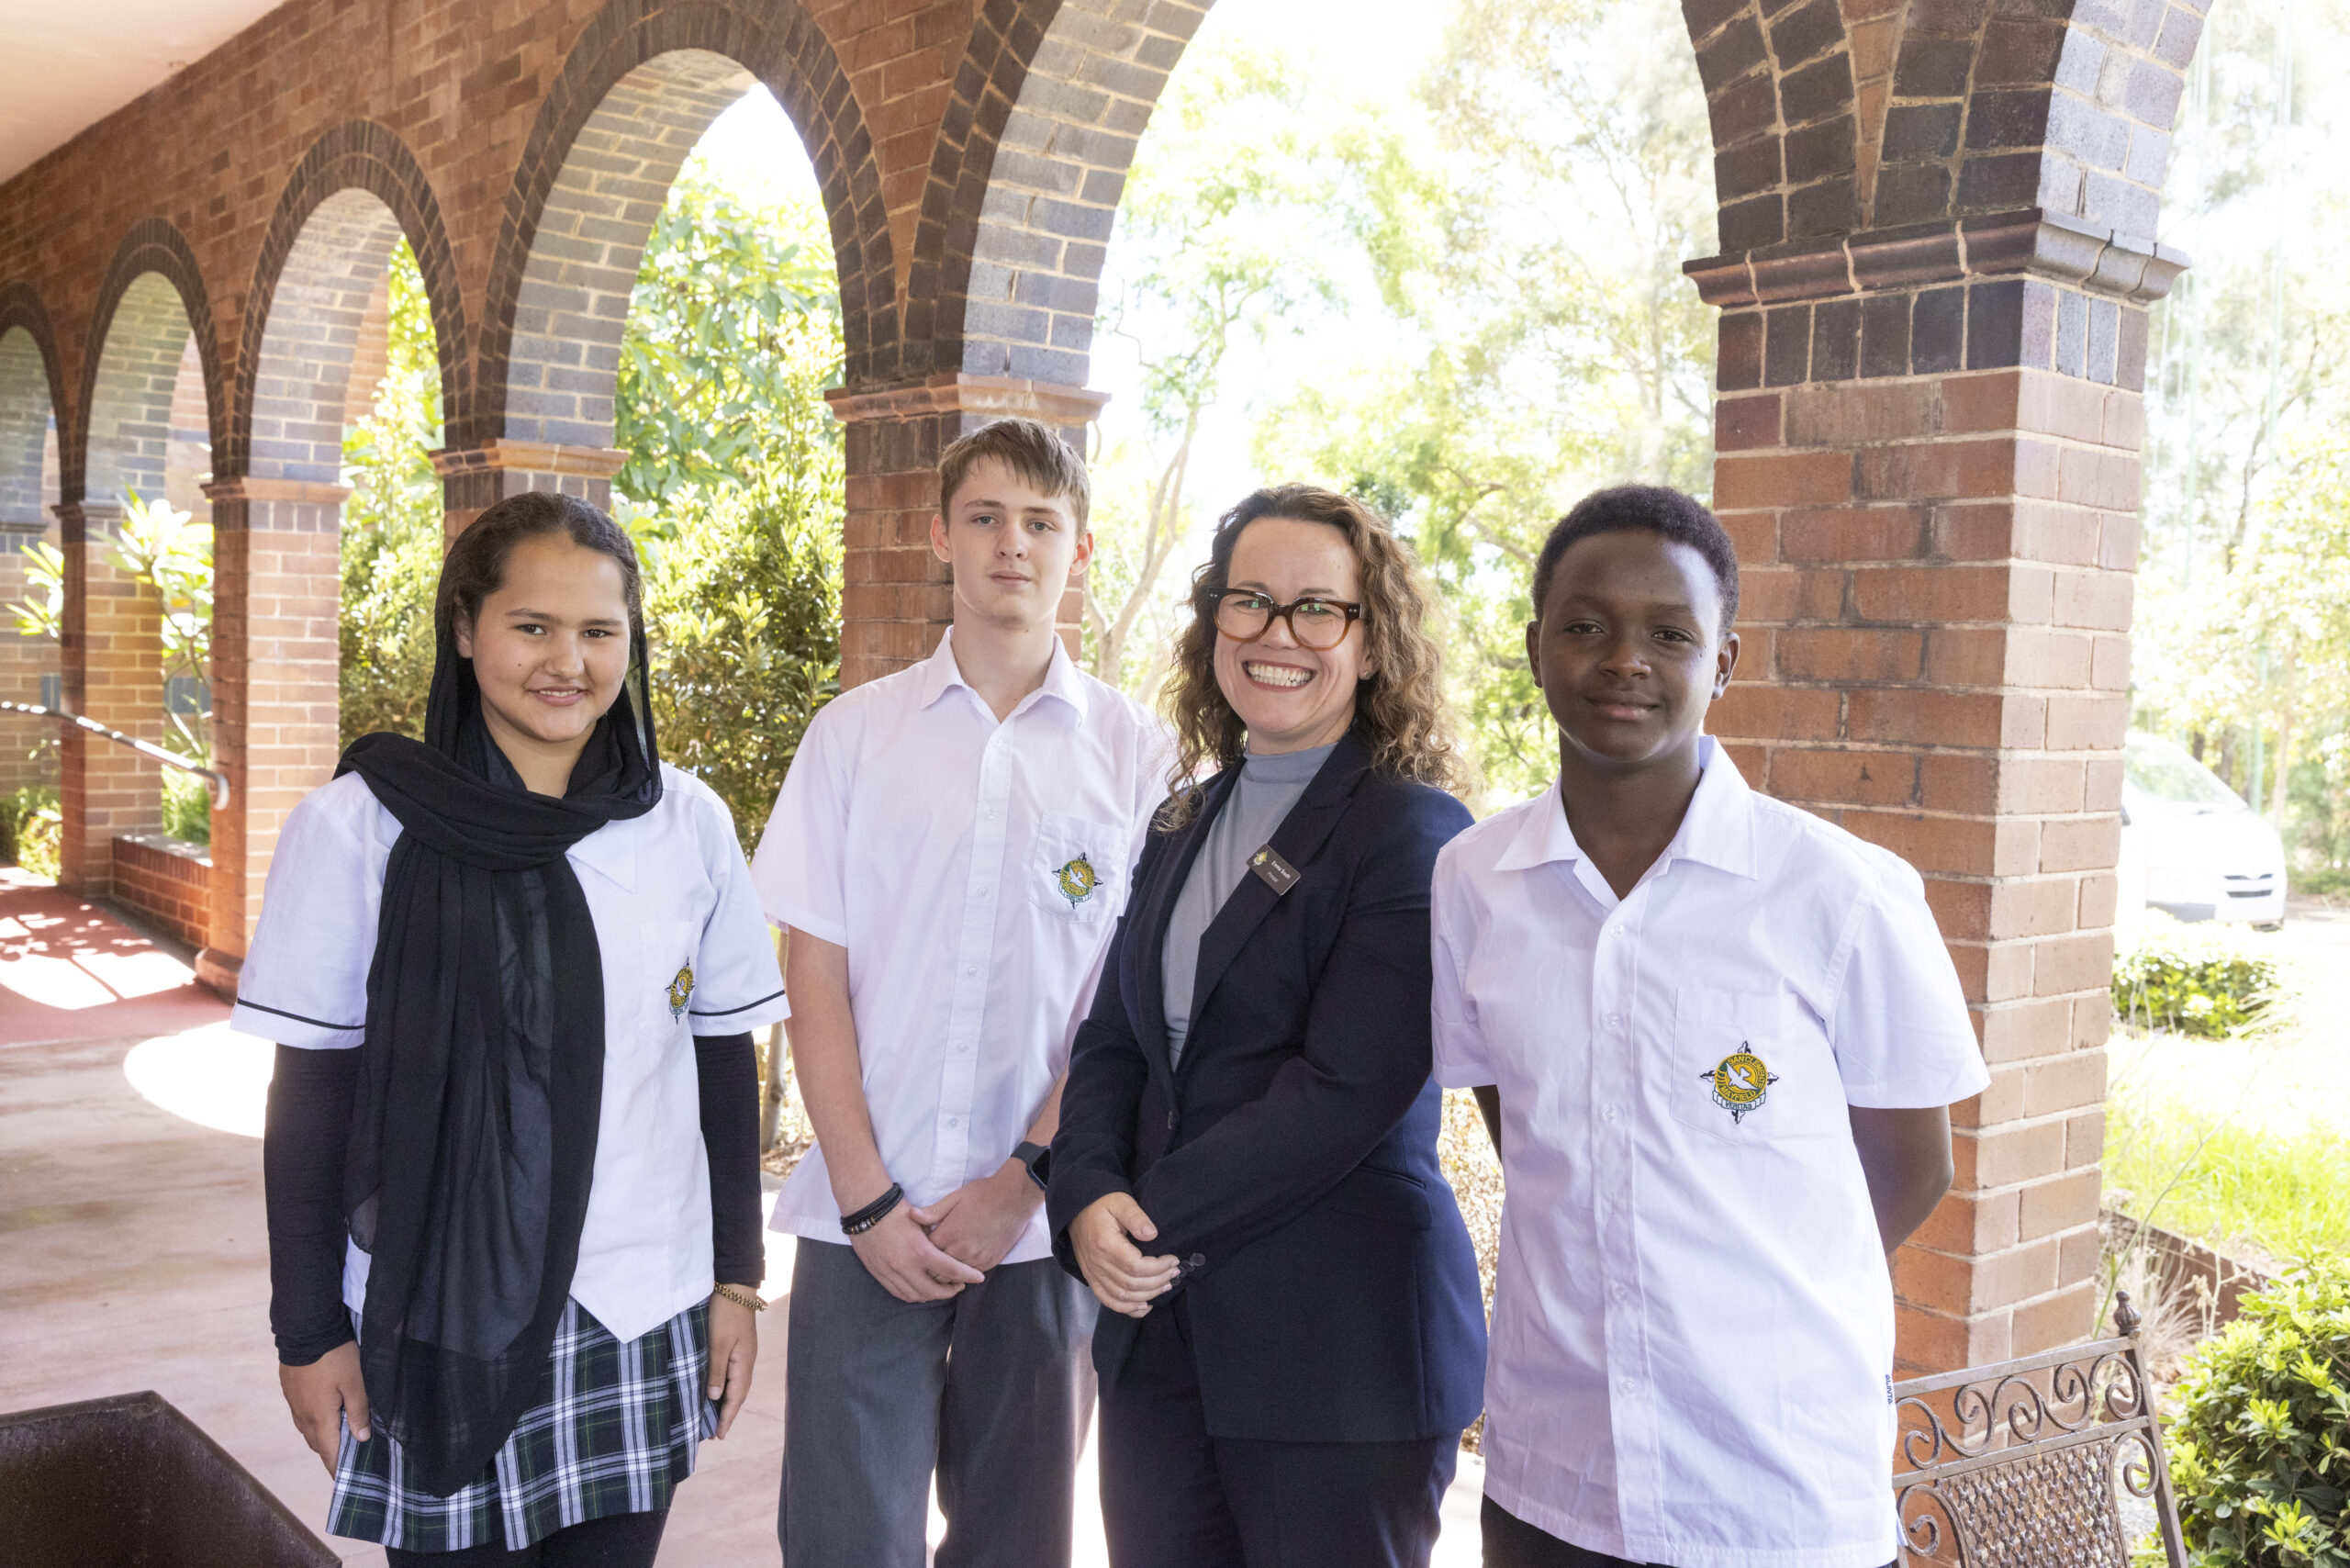
Each school has a supportive community of teachers, parents, carers, P&F committees, clergy, parishioners and support staff who work together to focus on students; encouraging success, promoting discipline, supporting creativity and instilling compassion. This means that Catholic schools do not just teach religious studies, they seek to develop spirit, mind, body and character and cultivate Gospel values that support lives filled with joy, endeavour and hope in the future.
San Clemente has a commitment to focusing on each individual child’s ability, offering a unique array of educational, creative, sporting and formation opportunities for students.
Finally, Catholic schools offer peace of mind to parents; knowing they’ve made the right choice and the best investment for their child’s future. It is because of this and the many opportunities available to students that we believe choosing a Catholic education is the right choice to make.
San Clemente is committed to continual improvement in all aspects of school life.
VERITAS
Enrolment Information
“Our mission is to evangelise – to proclaim Christ, the Good News of God’s love for all. All our pastoral activities must, therefore, both flow from our personal response to Christ and be carried out in the spirit of the Gospel.” Diocese of Maitland-Newcastle Pastoral Plan, Moving Forward Together, 2011 (Theological Principle 3.1)
Why Catholic education?
Catholic schools are centred on the person of Jesus Christ and are called to live and proclaim the message of the Gospel. Supported by, and in collaboration with, the Catholic community of which they are a vital part, Catholic schools encourage staff, students and their families into a personal relationship with Jesus, challenging them to find, through Him, meaning and value in their lives.
The School is an integral part of the Parish and Pastoral region’s program of outreach to Catholic families. Enrolment in a Catholic school enables the local Catholic community to offer support to parents in the faith education of their children. In addition, Catholic schools contribute significantly to the Australian community by promoting quality education and a just and tolerant society.
Does my child need to be Catholic to attend San Clemente?
No. San Clemente is open to all who want to share its educational goal, inspired by Christian principles. In accordance with each school’s enrolment vacancies, preference is given to students who are baptised Catholic and who live in the local parish and then to children of Catholic families from other parishes who wish to enrol. However, schools are open to all who wish to be guided in their education by the principles and teachings of Christ.
All families and their children, Catholic or non-Catholic, are invited to have a Catholic education but must be willing to participate in the religious life of the school.